
Idea 4 Continued Development (completed initial design)
I decided to continue with idea 4 as my final, as it had the most potential and would help me learn much more when compared to the others. This is because I rarely draw landscapes and need to learn more about perspective.
Note: This is before i add the final Kendo etching to the back.
First, I decided to plan out the rough placements of the basic elements, seperating them by their layer. (bottom layer first)
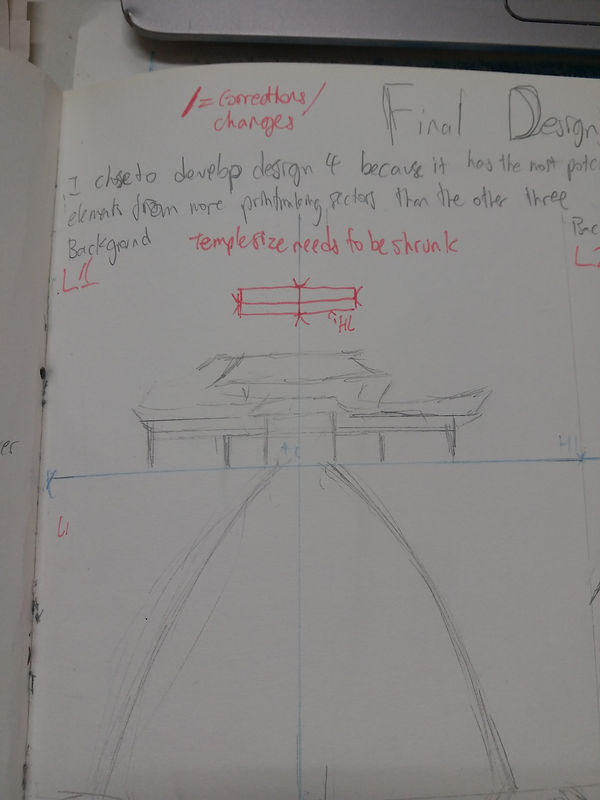
Layer 1: The temple at the back is the element furthest in the background, and does not overlap with anything. It is in the center of frame.
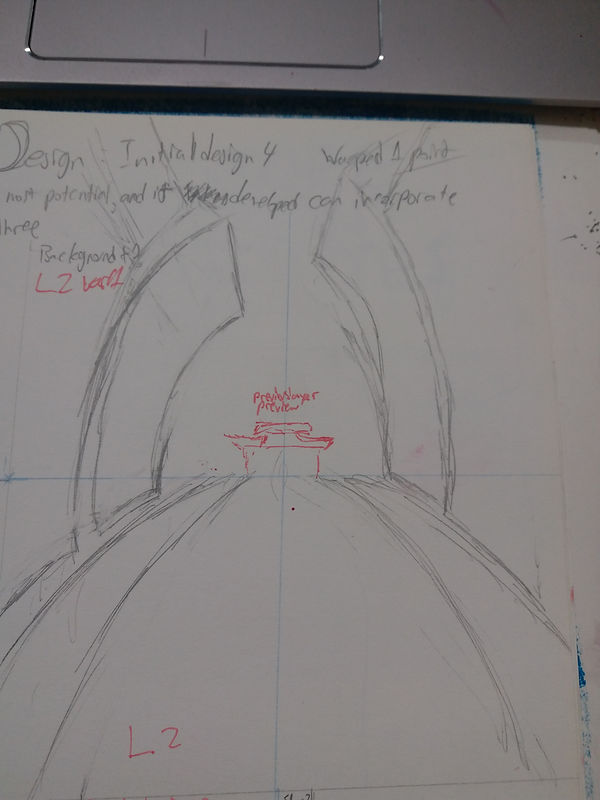
Layer 2:
This layer includes the buildings that surround the street. I could have made them paralell, but worried that it would look too plain and inintresting. In the end, i decided to have different heights and different widths to the buildings.
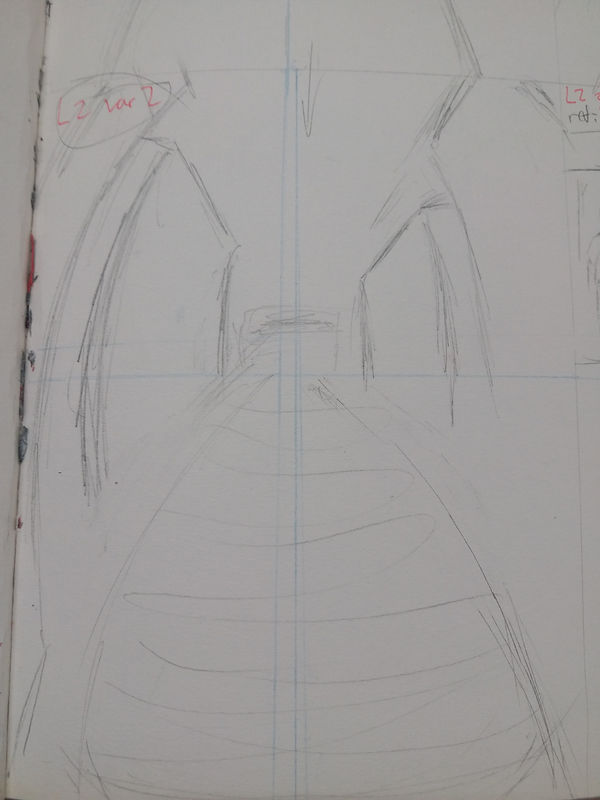
Variation of building scheme above. II could not figure out the correct pllacements and perspective.
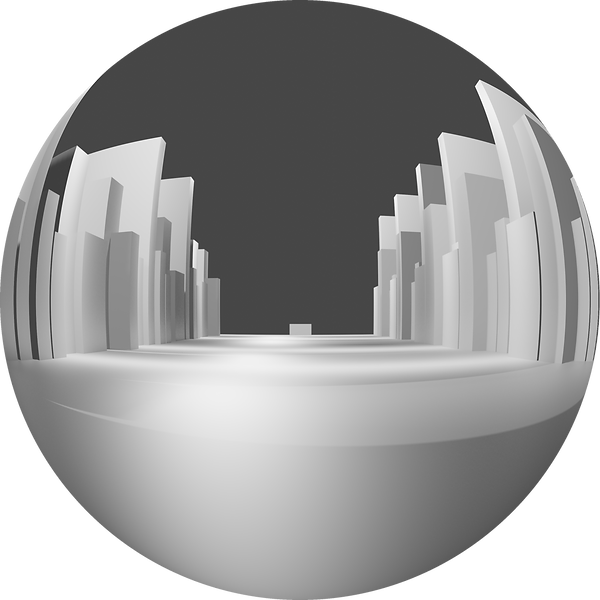
Fixing Perspective With CAM (blender)
In order to correct the broken perspective, i decided to use blender, a 3d rendering software to assist in perspective.

This is a screenshot of the last save i made on the Blender file. The main windows i used are
The bottom panel is the camera settings, adjusting the warp on the image
the left camera is the editor that allows me to edit the 3d environment
the right camera is the preview window (camera POV). As it has not been rendered yet, no camera warp has been applied
By changing these settings and the scene, i was able to create the scene in primitives, and then added more detail manually in 2d drawing programs.

This is a zoomed out look at the street. It had to be super long as the templa at the back would be too big otherwise, and the camera warp would look a bit wierd.
The main problem was adjusting the level of warp, as too warped would result in many spikes (the buildings get warped to an incredible extent). While this looks okay, i dont have the skill to use the image when it is warped to that extent.

First one: .5+.5 distort
Roughed out the basic elements (buildings and shrine). However, the buildings reach too high, and it doesent look too great. Also, the warp is too much for me to work with.
Render 2: Same camera settings (.5+.5)
This time, the street has been widened. This will lessen the warp. as they are further away from the edges of the image.
Render 3: camera focal length changed. Road changed to red so future edits are easier.
(less zoom i guess?)

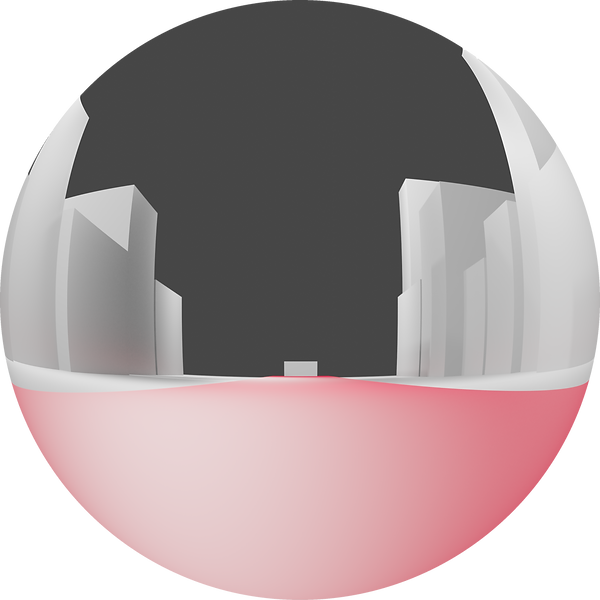
Render 4: I fiddled with focal length, size of road, and the warp. This is the final without the shrine. (note the box in the middle is the temple at the far end.
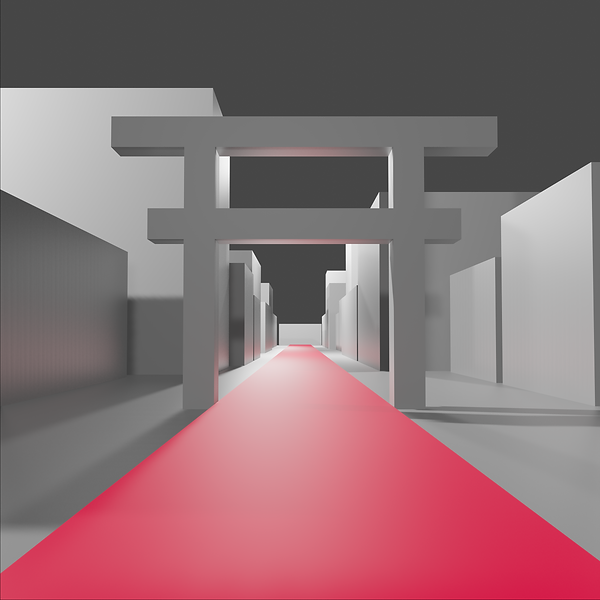
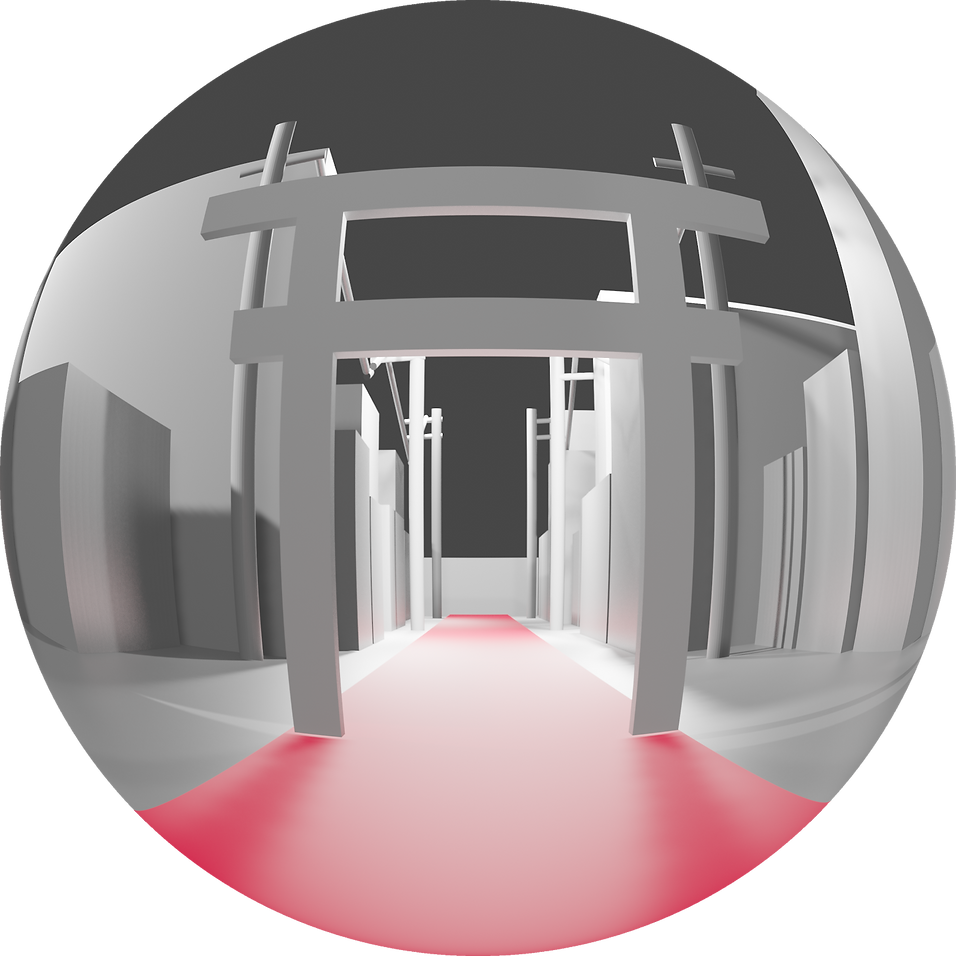
Render 5: Added shrine, no warp
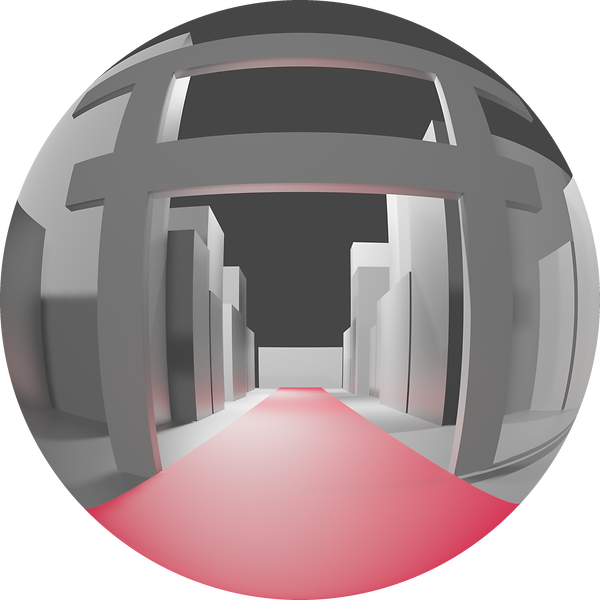
Render 6: 5 but with warp. The shrine looks too wide with the wide angle.

Render 7: slimmed shrine, no warp (I forgot how to save renders so i just screenshoted it)
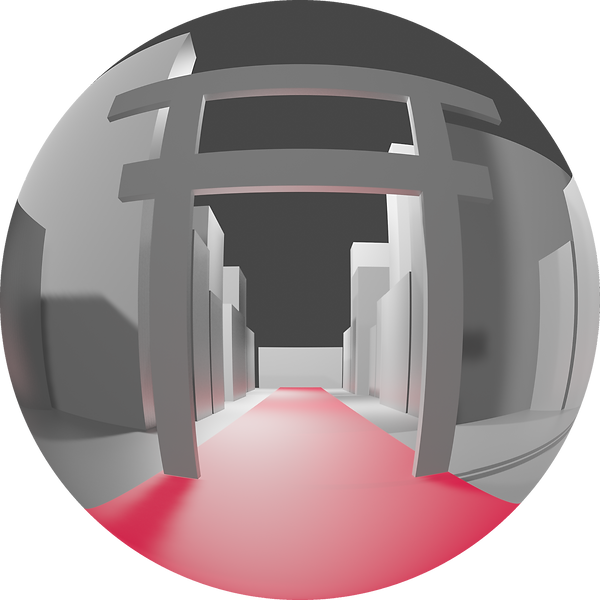
Render 8: Shrine looking much better
Final Design in 3d
2D Version 1
.png)
This is my first 2d version. I quite like it, but it lacks proper perspective knowledge and lacks links to sports and the olympics.
Also, it feels very dead, signboards dont show anything, storefronts are empty, etc.

Second version: None of the issues have been addressed. However, the Olympics logo and the "2020" has been warped to the camera warp.
The warp was done by exporting the logo and the "2020" as pngs and loading them in as textures in blender.
This alloed me to see them in the 3d environment, meaning that the logos can be rendered according to the warp.

FINAL DESIGN
Fleshed everything out a bit, added some things making it a bit more interesting and less flat/boring.
Practice and Studies for the Final Design
In order to draw the elements in the image above, i chose from a range of reference and chose elements i thought fit the most.

Street/Road ideas I got from the internet. These can flesh out the scene more and make it more believable (I did not use this in the end)
Street lamps, signs, etc:
This did not really help much, but helped with the electric cables which was an element inspired by these.
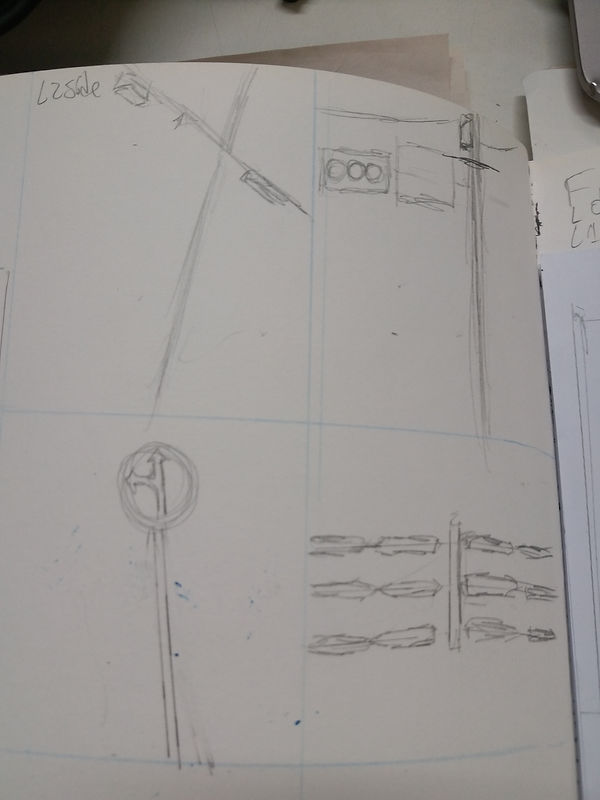
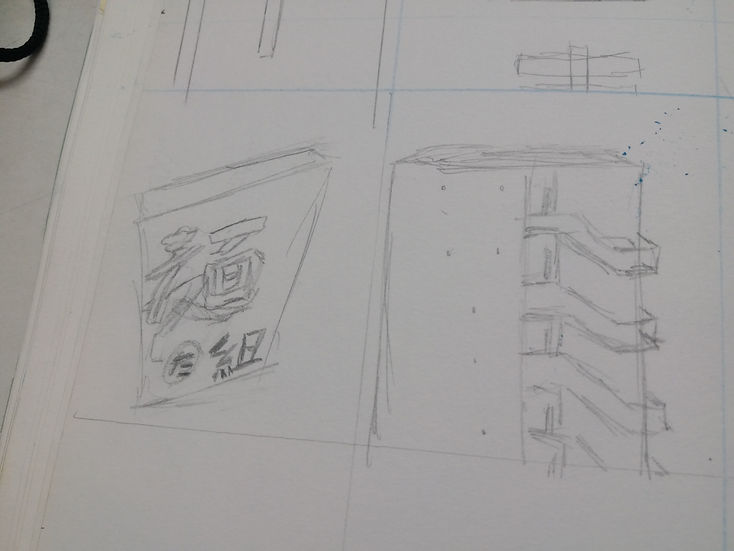
Misc elements. I ended up using the left noodle sign (turned into one of those foldable ones in the final though)

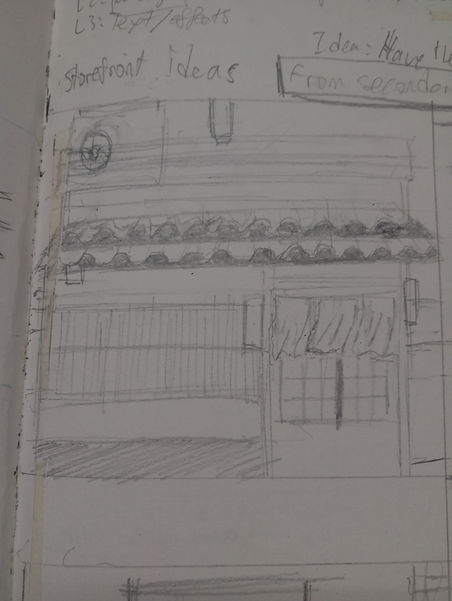
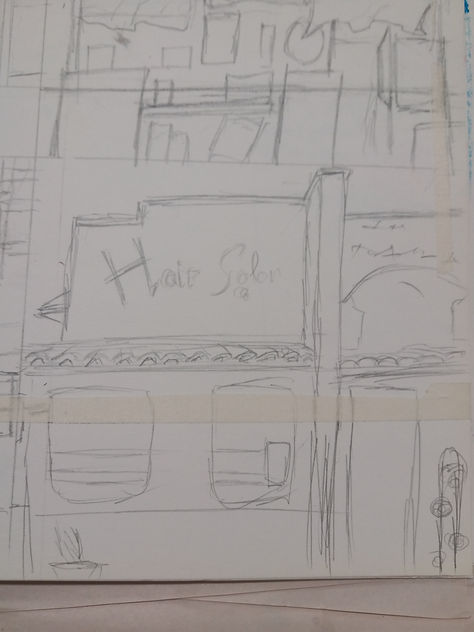
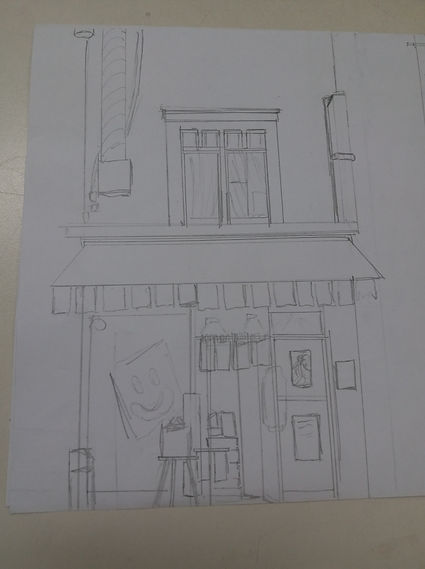


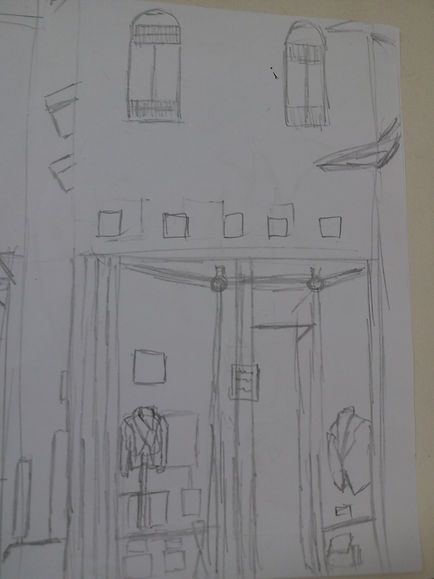

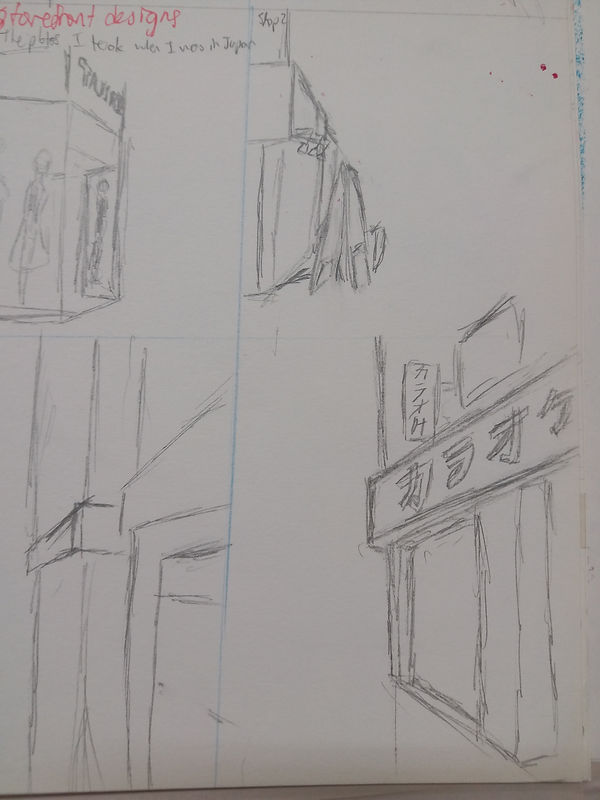
Storefront designs in perspective (roughs)
As for the background, in the end i decided to use a kendo practicioner as a background element tying the piece into the theme of the Tokyo Olympics.